
Table of Contents
OPENVPN VPN Service Connection for windows
Last update: 10/6/2026
Description
This service concerns all members of the community of the University of Western Attica who have a broadband connection (ADSL, 3G, VDSL, etc.) and wish to have access to information bases of the institution's Library, but also to use software such as MATLAB and SPSS.
Installation Instructions
CAUTION:
- In case you have an older version of OPENVPN installed on your computer, you should first uninstall the old version and after restarting your computer follow the installation instructions below.
- In case you have the institution's older customized version of OPENVPN installed on your computer and you want to upgrade it to a newer version, you should:
- first uninstall the old version, reboot your computer and
- then install the commnunity version according to the instructions below.
1. We recommend downloading version 2.6.x of the OPENVPN program from the following address: https://build.openvpn.net/downloads/releases/OpenVPN-2.6.20-I001-amd64.msi
Also, version 2.7.x of the OPENVPN program is now available. It has not been thoroughly tested by our department, but it seems to be compatible with the PADA VPN service settings. You can download it from the address: https://build.openvpn.net/downloads/releases/OpenVPN-2.7.4-I001-amd64.msi
If you have an old version of Windows (e.g. Windows 7) you will need to download version 2.4.x of OpenVPN: https://build.openvpn.net/downloads/releases/openvpn-install-2.4.12-I601-Win7.exe
If you choose to install version 2.6.x or 2.7.x of OPENVPN, you must re-download the configuration file found below in the instructions. If you have an older UNIWA VPN configuration file on your computer, it may not be compatible with OPENVPN version 2.6.x
Do not select alpha or Beta versions from the OPENVPN website for installation. These versions are considered experimental and NOT supported.
2. Install the OPENVPN program by running the file you downloaded (eg OpenVPN-2.6.10-I001-amd64.msi)
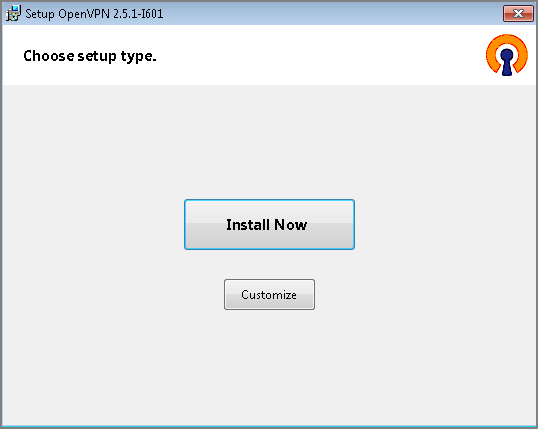
3. In the initial window that opens, select “Install Now”.
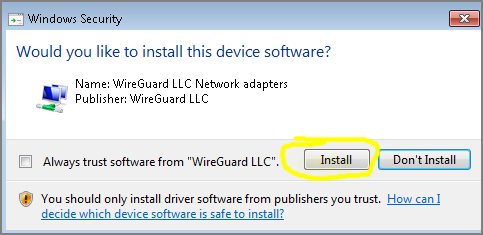
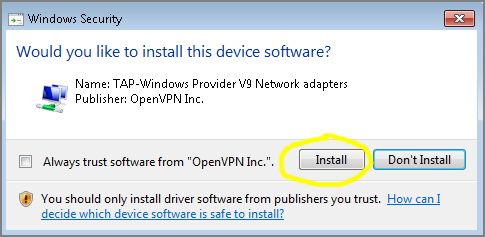
4. In the next two windows that show the network drivers of the OPENVPN program, select “Install”.
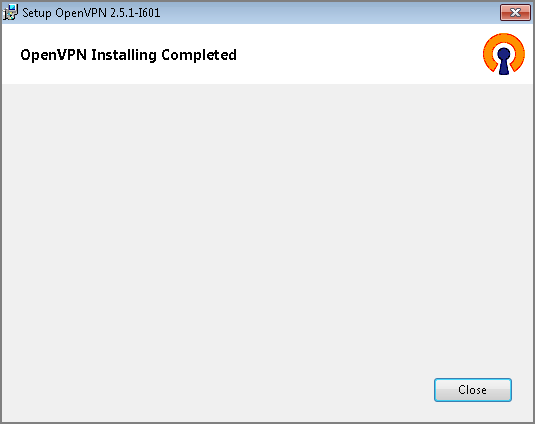
5. The installation of the OPENVPN program is completed by selecting “Close” in the last window.
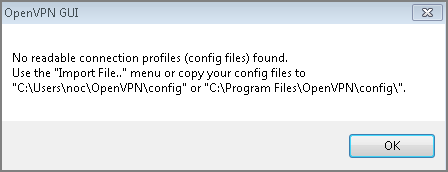
6. If you have not previously installed the OPENVPN program, the following information message will appear. Just press “OK”.
Instructions for importing configuration file
1. The last step is to import the appropriate institutional configuration file into the OPENVPN program.
- If you are a student, download the settings file and save it on your computer from the address: https://software.uniwa.gr/noc/UNIWA-STUDENTS.zip
- If you belong to the educational/research/administrative staff, download the settings file and save it on your computer from the address: https://software.uniwa.gr/noc/UNIWA-STAFF.zip
CAUTION: After downloading the appropriate configuration file, you should unzip it to a directory on your computer. The final/unzipped configuration file will have an .ovpn extension
Instructions on how to unzip a zip file in general can be found in the following links:
2. Right-click the OPENVPN icon that appears at the far right of the taskbar and select “Import file”.

3. In the window that will open, go to the directory where you previously unzipped the ZIP configuration file, select it and press “Open”. In the image below, for example, the directory c:\stuff is shown to have the configuration file UNIWA-STAFF.ovpn (after earlier we downloaded UNIWA-STAFF.zip and unzipped it to the directory c:\stuff)

ATTENTION: The configuration file you choose to import should end with .ovpn
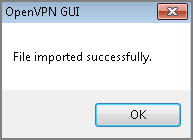
4. If the import of the configuration file is successful, you will see the following confirmation message. Just press “OK”.
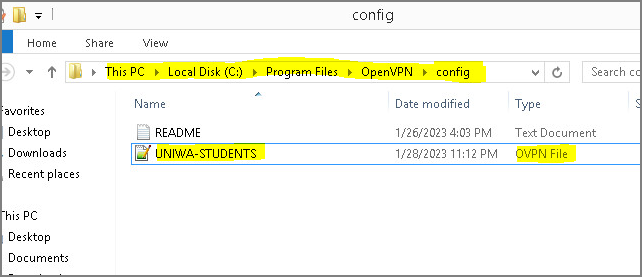
Note: Alternatively, instead of step (2) above, we import the file from the OPENVPN icon, we can copy the configuration file (with the extension .ovpn) to a specific subdirectory (config ) of the OPENVPN program. This directory is usually C:\Program Files\OpenVPN\config
Login Instructions
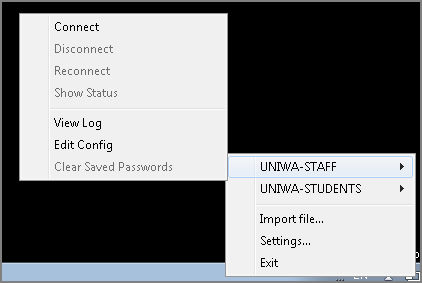
1. Right-click the OPENVPN icon that appears in the taskbar and select “Connect”
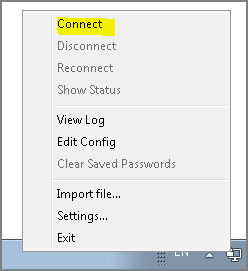
If you import more than one openvpn configuration file, then more options will appear.
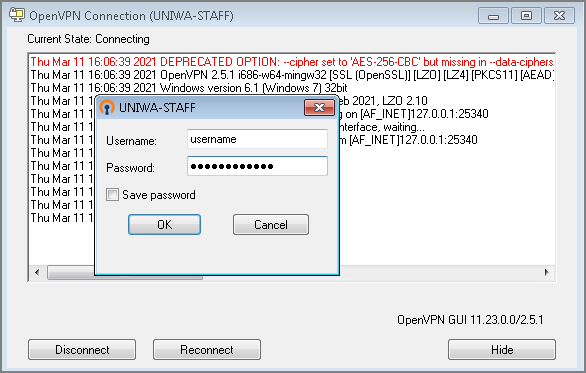
2. In the window that appears, enter your institutional login information (username/password), and select “OK”. If you want, you can save the login information in the window that appears by selecting “Save password”.
ATTENTION !!! Do not enter the entire email here: eg teststudent@uniwa.gr but just the username.
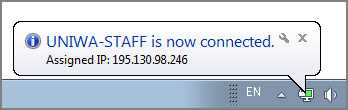
3. Once your connection is successful, the OPENVPN icon will turn green.
Notes
1. In case you have an older version of OPENVPN installed on your computer, you should first uninstall it and then install the community version following the relevant instructions.
2. If you already have the OPENVPN program installed on your computer, you can import the configuration files for the University of Western Attica into the existing OPENVPN program. To import the configuration file, all you have to do is follow the instructions above regarding the import configuration file.